| SkullandBonesSkateboards.com Forum Index » SKATEBOARD ART » a "Step by Step" art deck for hank1113, here ya Go |
|
Page 1 of 4 Goto page 1, 2, 3, 4 Next |
|
| Author |
Message |
| Steviecab |
 Posted: Sun Jul 04, 2010 6:16 pm Posted: Sun Jul 04, 2010 6:16 pm |
 |
|
|
Joined: 10 Feb 2008
Posts: 712
Location: Norcal
|
This was request from one of your very own SnB user, so i'm gonna keep updating this post as i go along:)
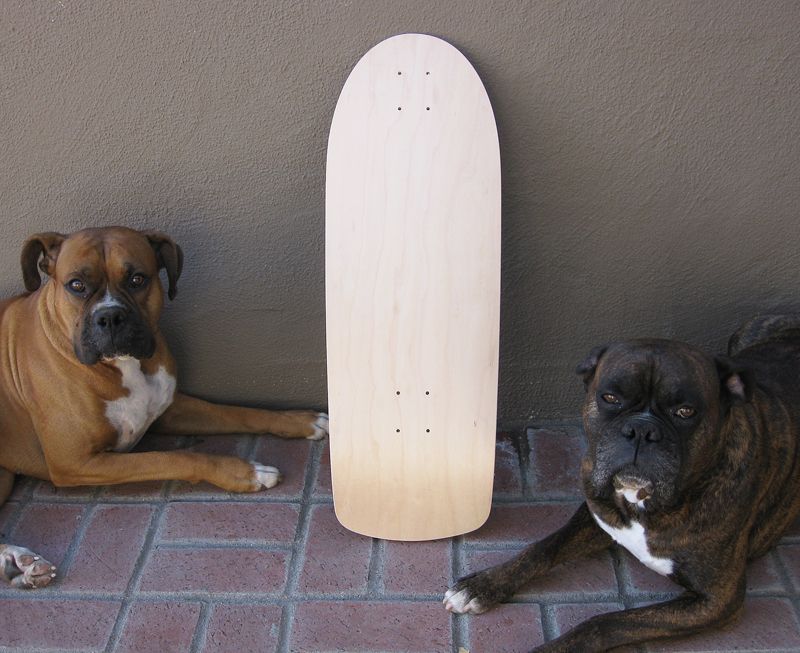
Here's what i'm starting with below, hope you enjoy the thread and the art when it's all finished!
Step #1
Have Powell Peralta supply you with a blank- unfinished deck as you canvas piece. (I sanded the rough edges all around the deck with some mini-logo grip tape also supplied by them).
*note* this is gonna take a bit longer than usual just because i'm doctumenting this whole art project so bear with me as i work on this, thank you and thanks for looking,
cab
Step#2
Grab some white primer from Home Depot and spray the whole deck, let it dry before you add the back ground color.
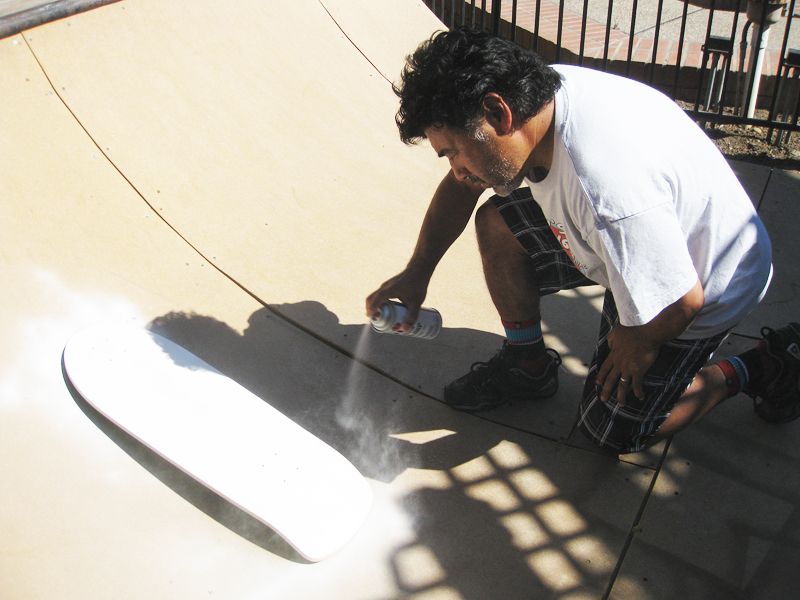
Step#3
add/ spray background base color ( like to use Home Depot's Rust-oleum "painter's touch" rattle can spray paint) and i'm going with Gloss brilliant blue on this one. once again, let dry before the next color.

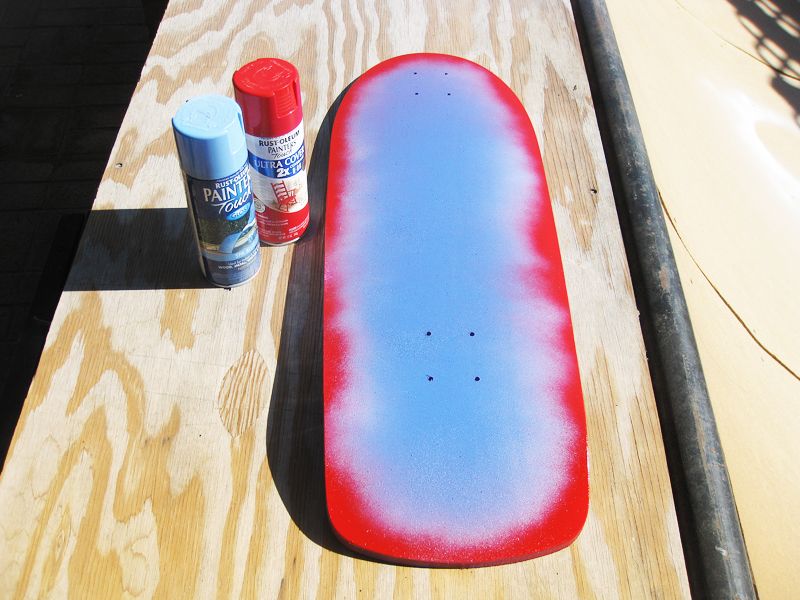
Step#4
Normally i just do one outside edge fade, but this time i tried something different and used two! My choice of gloss colors were "spa blue and apple red". Gonna let this one set in the sun for awhile before i "tape/ mask off" and add my racing stripe down the middle of the deck.
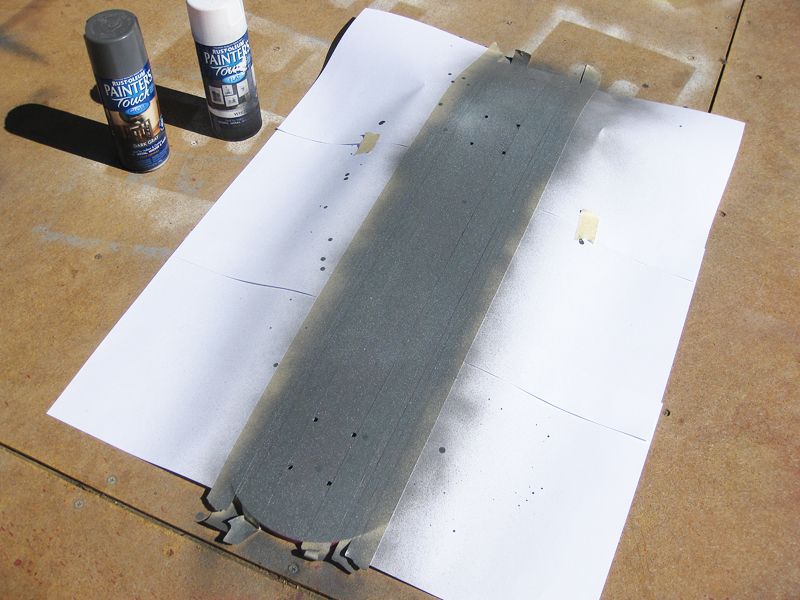
Step#5
I didn't have the correct pin stripe masking tape handy, so i just used good 'ol yellow Scotch masking tape to make my stripes across the deck length wise, plus i also used some printer paper in my office as well. One side finished, now onto the next side.

Step#6
added a dark gray ( that's the only gray color i had) and a little "white" to soften it up a bit to the racing strip down the middle. After that dries i'll will add the some texture to it... Not sure if i should go with lace or sea sponge, still deciding:)
Step#7
Go buy some more spray paint for future projects and this one because it's on SALE @Home Depot at the moment... so i just found out:)

Step#8
Get your supplies ready for the "sponge painting" technique, i used 1- shot enamel paint on my last deck, but i wanted this to dry much quicker, so i used spray paint this time. You get the same effect, except that 1- shot has a bit more of a glossy shine to it. I sprayed the paint into the little plastic cup i cut out of a bigger one, then dipped the sponge into the cup and then blotted the deck in various places...

...and here's the end result once it dries and you pull off all the masking tape away from the deck.

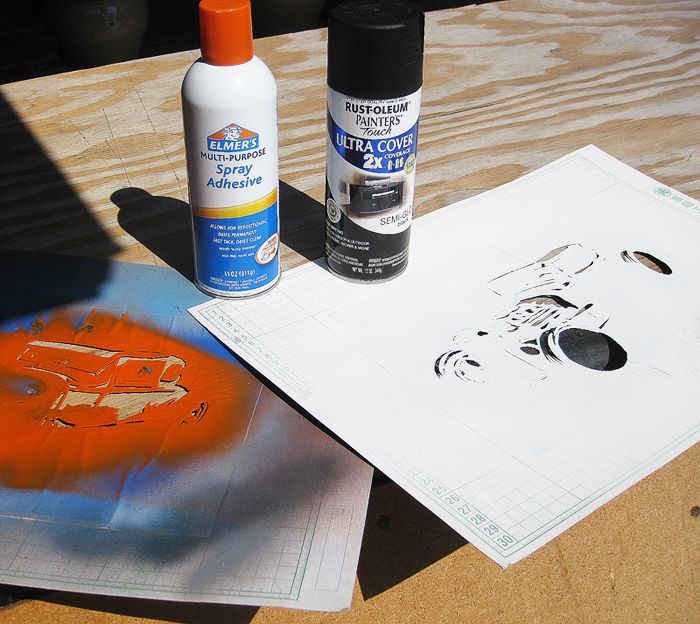
Step#9
Grab your 3 stencils you cut out (which took a lot of hours and precise engineering so that your image doesn't fall apart by making bridges here and there to keep the whole piece together) and some Elmers re-positional photo adhesive spray mount ( in which you spray a little in back of each stencil) to keep the edges sharp to reduce less under spray and make the image look a bit cleaner after each layer. This hotrod image will only use 3 colors (stencils pieces to finish it). Black, white and what ever "other" color i choose for this particular art piece.
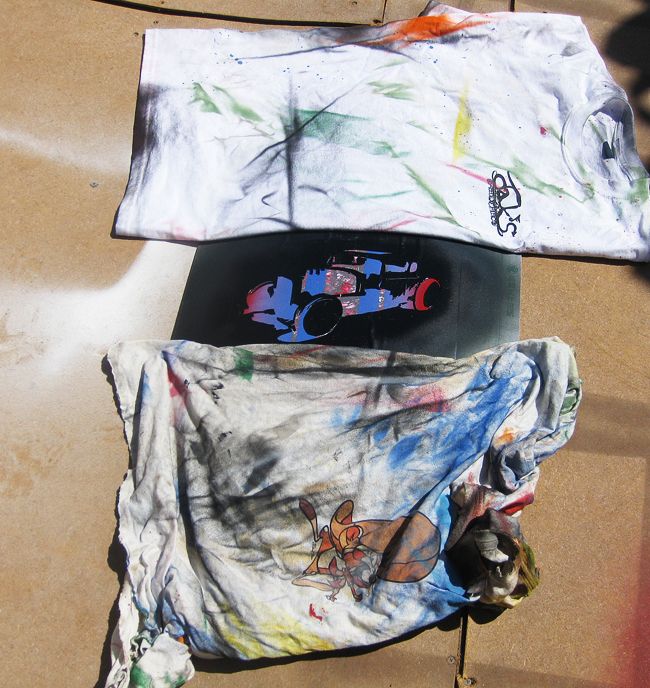
Step#10
Take your first stencil, spray the back of it before you lay it on the deck. center it in the middle of it and pressed down, then add your two paint rags ( old skate shirts i don't wear anymore) to cover the rest of the deck. and now your ready to add your first layer... i chose semi-gloss Black.
Step#11
Carefully remove the stencil slowly so it doesn't tear or pull up any paint from the deck ( this is why i spray the stencil lightly with the adhesive spray mount on the back). Let it dry completely and your ready for the next layer.
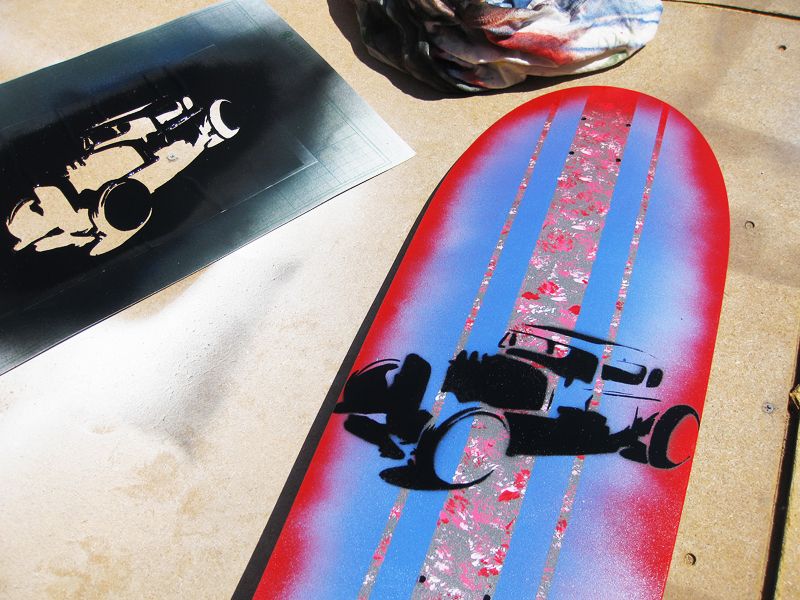
Step#12
Repeat step #10 and add/spray the next layer of your image. This time i chose gloss white. Once again let it dry in the sun for a bit before you spray your next layer, which at this time, i'm still undecided on the color of the Hot Rod.... i'll ponder it over dinner with the family as it's time to go grub, i'm starving!
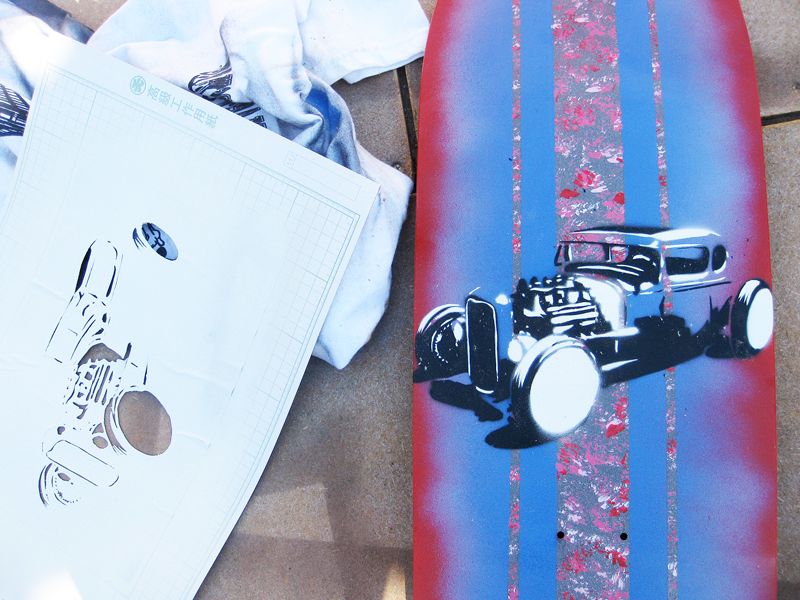
Step#13
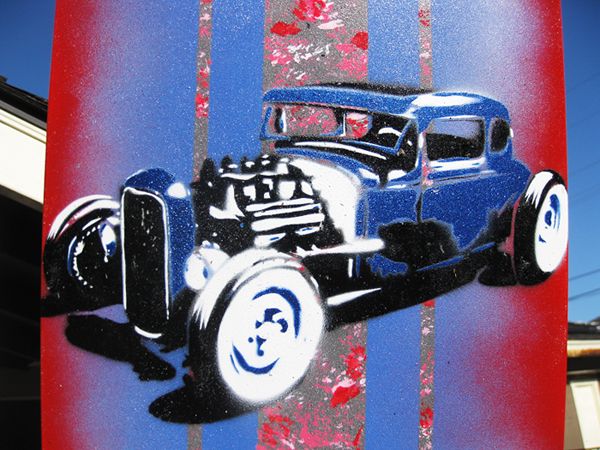
Add last layer to primary image which i chose Metallic Blue for this one:) the metallic color really make the car stand out and have a metal looking finish to it, i like it!
Looks like i'm ready to bring out the "1-Shot" enamel paint and the striping brush tomorrow to finish this piece off:)
Step#14
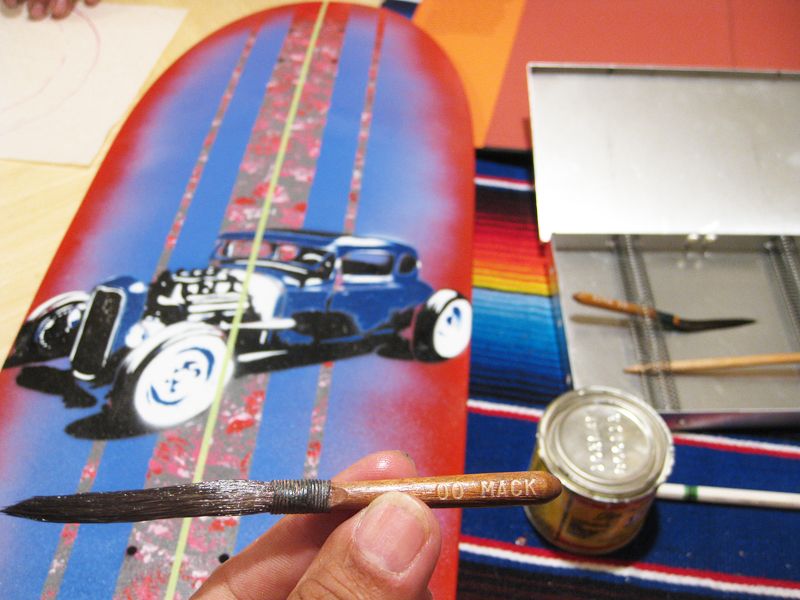
so last night I was able to head over my pinstriping buddy, MR. WIM's, home and sling some paint around as he was working on some projects himself:) We'll here's my weapon of choice ( a Mack 00 brush).
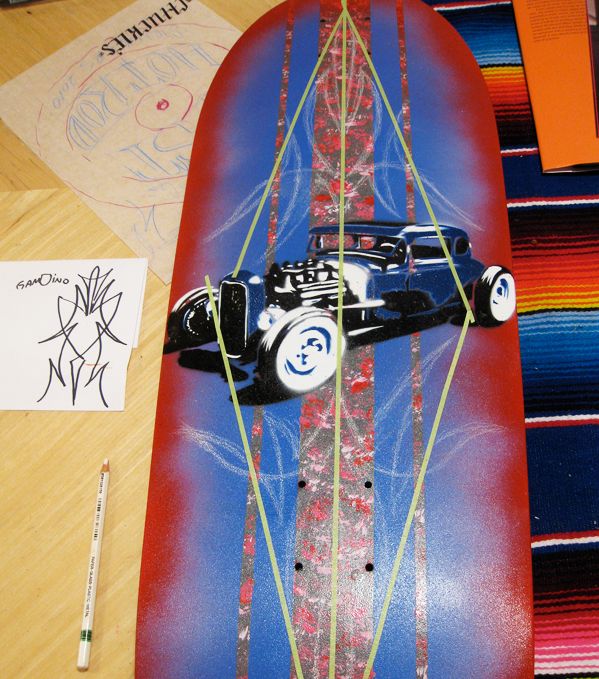
I took some very thin green striping automotive masking tape to mark my "center line" down the length of the deck to start my pinstripe design sketch and also grabbed some orange 1- Shot enamel paint for my first color.
Step#15
After your finished laying out your area with the automotive tape, then grab a white stabilo drawing pencil, these water soluble pencils are excellent for marking on most materials and are easy to wipe off after your finished with your desired pinstripe starting point and sketch.
Step#16
Open up your can of enamel paint and start to "mix it "with some paint thinner ( 1-shot reducer) or mineral spirits to get the correct paint density to lay your first lines.
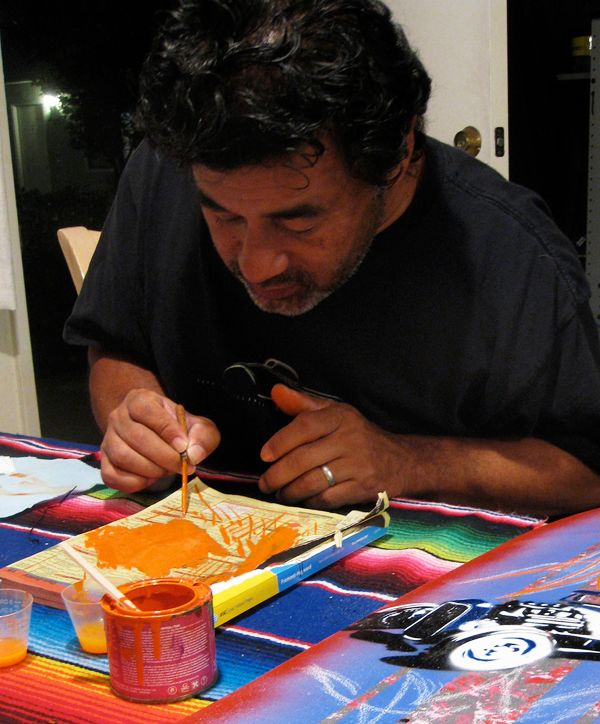
...and go at it and start pull some lines yo! try staying within your guide lines of the sketch.

...repeat on the opposite side as well.

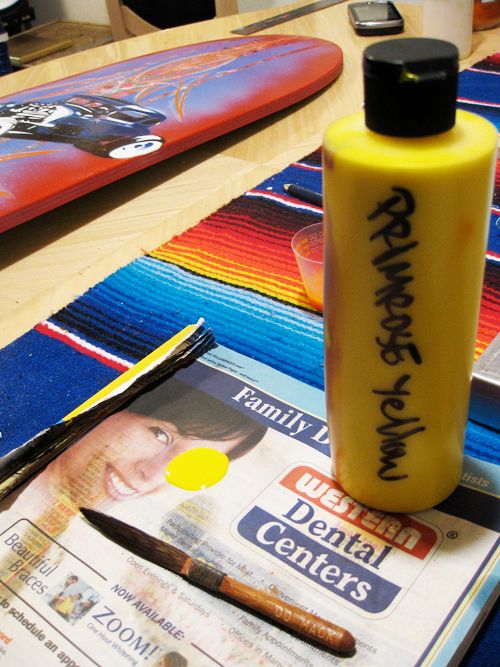
Step#17
Once you get your initial design, it's time to add your second color, my choice was primose yellow made by 1- Shot enamel paint brand:)
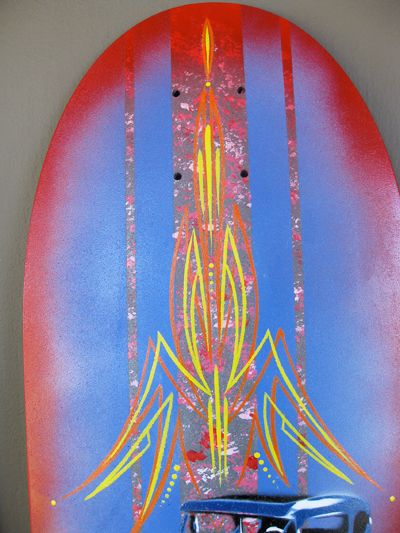
Step#18 (last step)
Sign your piece and once it's all dry (over night) , it's time to wipe off your stabilo pencil sketch pattern under your finished design... which i'm about to do right now, take a picture of the finish board and then post it at the end of this step by step tutorial.
Thanks for looking, following this thread fellas and hope you enjoyed it!
cheers,
cab

 |
Last edited by Steviecab on Tue Jul 06, 2010 6:07 pm; edited 24 times in total
_________________
Updated daily
http://steviecaballero.blogspot.com/ |
|
| Back to top |
   
|
|
|
| bobby |
| Posted: Sun Jul 04, 2010 6:54 pm |
|
|
 ORDER OF THE SKULL

Joined: 21 Jul 2003
Posts: 3414
Location: delaware
|
This is gonna be awesome! And check out the security dogs .  |
|
|
| Back to top |
|
| snakesession |
| Posted: Sun Jul 04, 2010 8:44 pm |
|
|
 ORDER OF THE SKULL
Joined: 04 Nov 2001
Posts: 1241
Location: Greenville, South Carolina
|
| Thanks for posting these Cab for everyone to see and follow along. Have fun with it. |
_________________
"The specified media does not exist." |
|
| Back to top |
|
|
|
| zeno01 |
| Posted: Sun Jul 04, 2010 10:57 pm |
|
|
ORDER OF THE SKULL
Joined: 12 Jan 2007
Posts: 5841
Location: Fargo, ND
|
| Love the over-spray all over the ramp. It's a developing project in it's self! |
_________________
Lurkin' hard or hardly lurkin?!?! |
|
| Back to top |
|
| krayola |
| Posted: Sun Jul 04, 2010 11:22 pm |
|
|
 ORDER OF THE SKULL
Joined: 11 Feb 2007
Posts: 15449
Location: R'lyeh 47°9′S 126°43′W / 47.15°S 126.717°W / -47.15; -126.717
|
Eactly, so you mean by "deck" you mean roll out deck on the ramp?
Must be expensive to ship a mini ramp.
zeno01 wrote: Love the over-spray all over the ramp. It's a developing project in it's self! |
_________________
XXX UPDATES, PLEASE READ
Flikr photo archive |
|
| Back to top |

|
| hank1113 |
| Posted: Mon Jul 05, 2010 12:44 pm |
|
|
 Joined: 30 Apr 2009
Posts: 3639
Location: Richmond Va
Joined: 30 Apr 2009
Posts: 3639
Location: Richmond Va
|
| very cool! I am stoked to see how it comes out! i am actually working on some stuff myself today! |
_________________
www.shipyardskates.com |
|
| Back to top |
|
|
|
| masonmayhem |
| Posted: Mon Jul 05, 2010 5:33 pm |
|
|
|
Joined: 28 Oct 2004
Posts: 1376
Location: Redneck Riviera, AB
|
| it's cool to see the how to of what people do with painting. sometimes the effects i see on art like this boggle my mind but are easier than it appears to be. i overthink things. |
_________________
...if it ain't insane then you can't get rad... |
|
| Back to top |
|
| toilettowncom |
| Posted: Mon Jul 05, 2010 5:38 pm |
|
|
 Joined: 26 Jan 2007
Posts: 823
Location: brooklyn, ny
Joined: 26 Jan 2007
Posts: 823
Location: brooklyn, ny
|
| seeing the step by step process is really awesome. |
_________________
wizardskull.com <-- 50+ Consolidated Skateboard Graphics, My "Fine Art", & More...
facebook.com/wizardskull <-- Tee's & Art on Facebook |
|
| Back to top |

|
| kirb-slider |
| Posted: Tue Jul 06, 2010 8:12 am |
|
|
 ORDER OF THE SKULL
Joined: 20 Feb 2009
Posts: 6219
|
| super rad post by a super busy dude. |
_________________
YOU CAN'T PAY YOUR DUES WITH CASH
~nostalgia is the wave of the future~ |
|
| Back to top |
|
|
|
| Steviecab |
| Posted: Tue Jul 06, 2010 1:08 pm |
|
|
|
Joined: 10 Feb 2008
Posts: 712
Location: Norcal
|
|
| Back to top |
|
|